3 tips to manage drift from manual changes in Terraform
Stephane Jourdan
2020年5月22日
0 分で読めますEditor's note: This post originally appeared on CloudSkiff.com. CloudSkiff joined Snyk in October 2021.
How do you manage drift from manual changes in Terraform? If someone changes something manually on the infrastructure, how do you handle it on Terraform, and how do you run Terraform plan next time? There are different ways to manage drift from manual changes on your infrastructure in Terraform, depending on the case.
Here are 3 options:
Change the code manually to update your State
Reverse Terraform the new existing environment using a tool
Import specific parts of your new code with the Terraform import subcommand
1. Change the code manually to update your State
It is always easier to start with an example. So, let’s say you have a security group that was changed manually by one of your team members, like opening an HTTP port for a specific subnet, and you discover this at the next terraform apply. (This is an easy case).
Following this action, you will find a diff in your terraform output (be it on CI, or on your laptop). That means that you can add this difference as a snippet directly on your Terraform code and apply it. So what you will need to do is basically manually add the code after the deployment. When you next do a terraform apply, Terraform will notice that the state doesn’t include this new item (in our example, allowing HTTP for a subnetwork) and will require your cloud provider (AWS for example) to do it, and AWS will return: “I already have it.”
In this easy case, the difference just appears in the TFstate file, and you solved your case manually. It’s a bit like fixing a conflict during a git merge.
So, the key steps are:
Write the missing code
Push it
Apply it
The delta disappears
And the final state is updated on the state file
2. Reverse Terraform the new existing environment
If you have a much more difficult case, like a full VM or even worse maybe a full Kubernetes with 10,000 nodes run manually, you obviously will not try to write the code manually like I just did for a very simple case. I would recommend you to use a tool like Terraformer or Terraforming.
This kind of tool scans your cloud provider accounts for resources and parameters. Once the tool has all the parameters (let’s say for example on a VM: hard disk, IP address, operating system type, etc…), they will turn all those elements into valid Terraform code and create a TFState from the code.
Terraformer originates from the Waze SRE team at Google in Tel Aviv. It will do something like 80% of the job, and you just need to adapt some things here and there.
So, using this tool, you will end up with 3 elements :
The code that you just extracted
An existing manual deployment
A state file
The problem now is that these elements are not really merged into your existing infrastructure repo. That’s the topic of the next subject: choose what you import.
3. Import specific parts of your new code with the Terraform import subcommand
Once you have your code, you can import it by using the terraform importsubcommand to be very precise/picky about what you import.
Let’s say, as an example that there is a specific IP address that you launched manually for an old load balancer, but production needs to keep this particular IP address and you want to be sure that it’s under control on Terraform. You can write the corresponding terraform code and import the corresponding ID on AWS.
It’s quite different from just pushing/applying some code and checking if “it works” on the other side. You have this code, and you know that if you execute it right now, it is going to be duplicate (in this precise example because you can have hundreds of IP address with a name; it was not the case in the previous example with the security group where you can only have one port 80 open).
So in this example, I would define this very specific IP address through an importer like Terraformer and copy/paste it on my existing code. Then I would not apply this directly but import it with the terraform import subcommand.
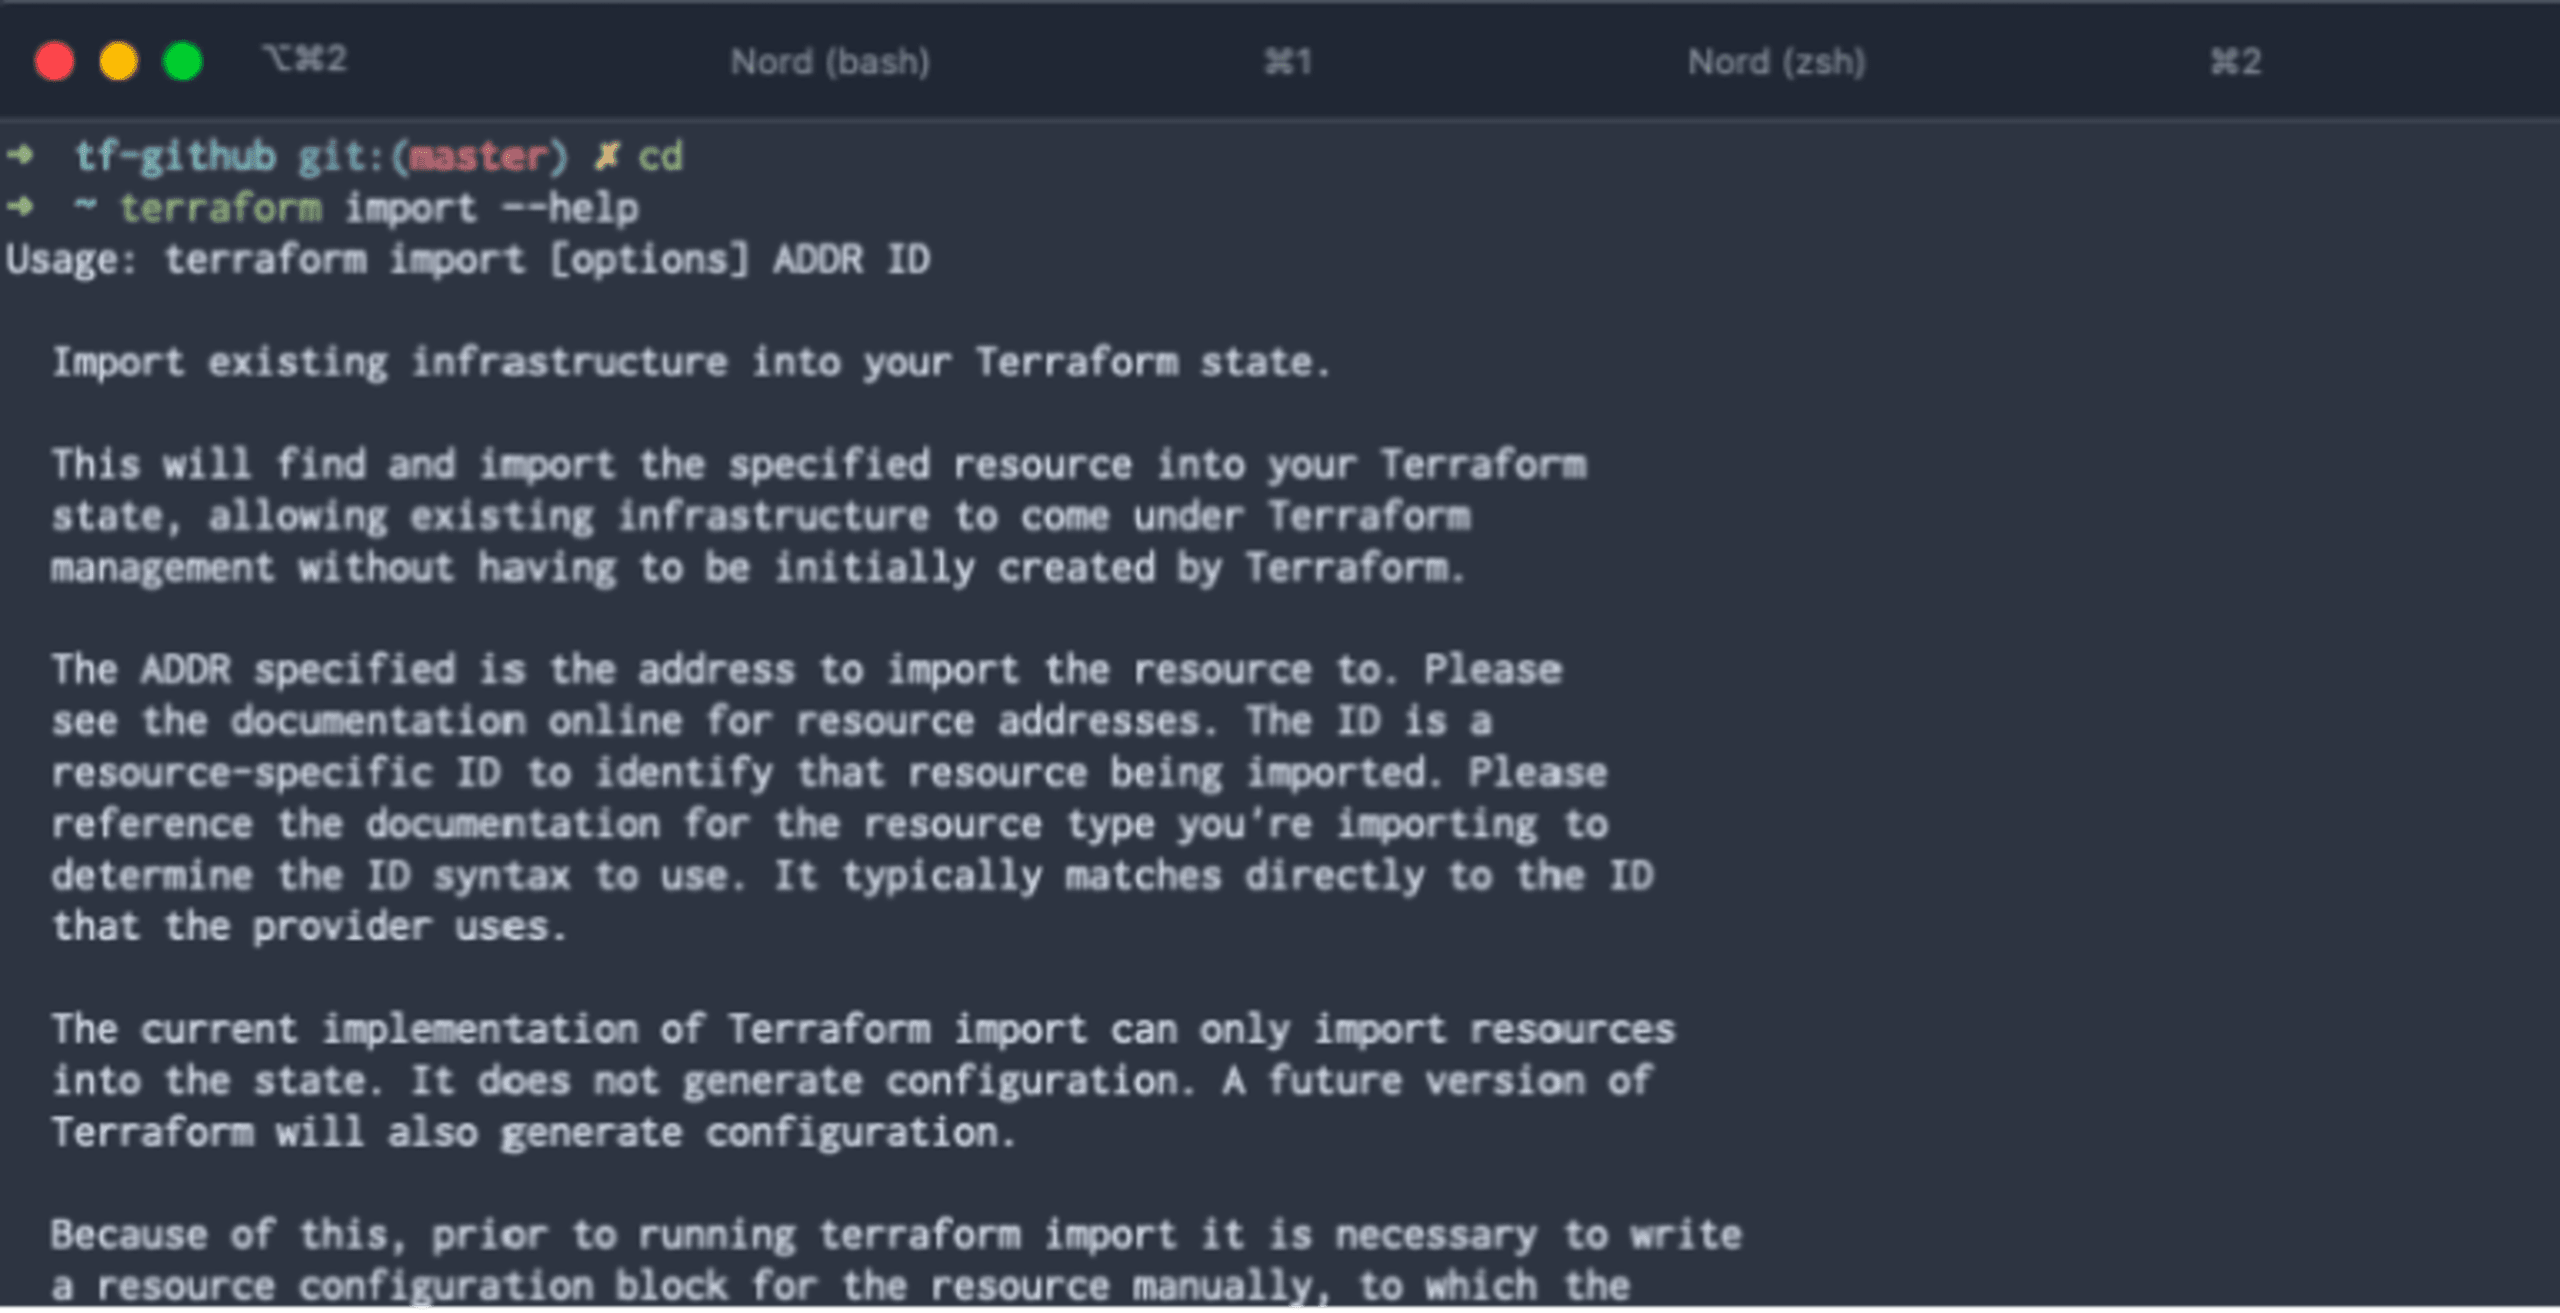
Here’s an example of how the terraform import command looks like.


Final words on managing drift from manual changes in Terraform
The three ways I would recommend you to manage manual changes in your infrastructure with Terraform, depending on the situation would be:
Write the code and apply it for small changes that don’t need to be imported again, and let it reconcile with the state file automatically.
Import your new environment and reverse-terraform it, with a tool like Terraformer.
And/or import very precise bits manually using the Terraform import subcommand.
Securing your Terraform code
Snyk IaC secures your Terraform configs (and Kubernetes, CloudFormation, and ARM templates!) as you code, with guided fixes so you can merge and move on. You can test as you write, monitor for changes in your git repositories, and automate testing in your build pipelines before deployment. Getting started with a Free plan takes minutes, while a breach from an IaC misconfiguration can cause damage to last a lifetime. Sign up and start securing your configs below. Check out this article to learn more about detecting and preventing configuration drift.
ソースからインフラを保護する
Snyk は、IaC のセキュリティとコンプライアンスをワークフローで自動化し、ドリフトしたリソースや不足しているリソースを検出します。
